Installation
Windows
Video Guides
Check out this or this video guide or take a look at the instructions below:
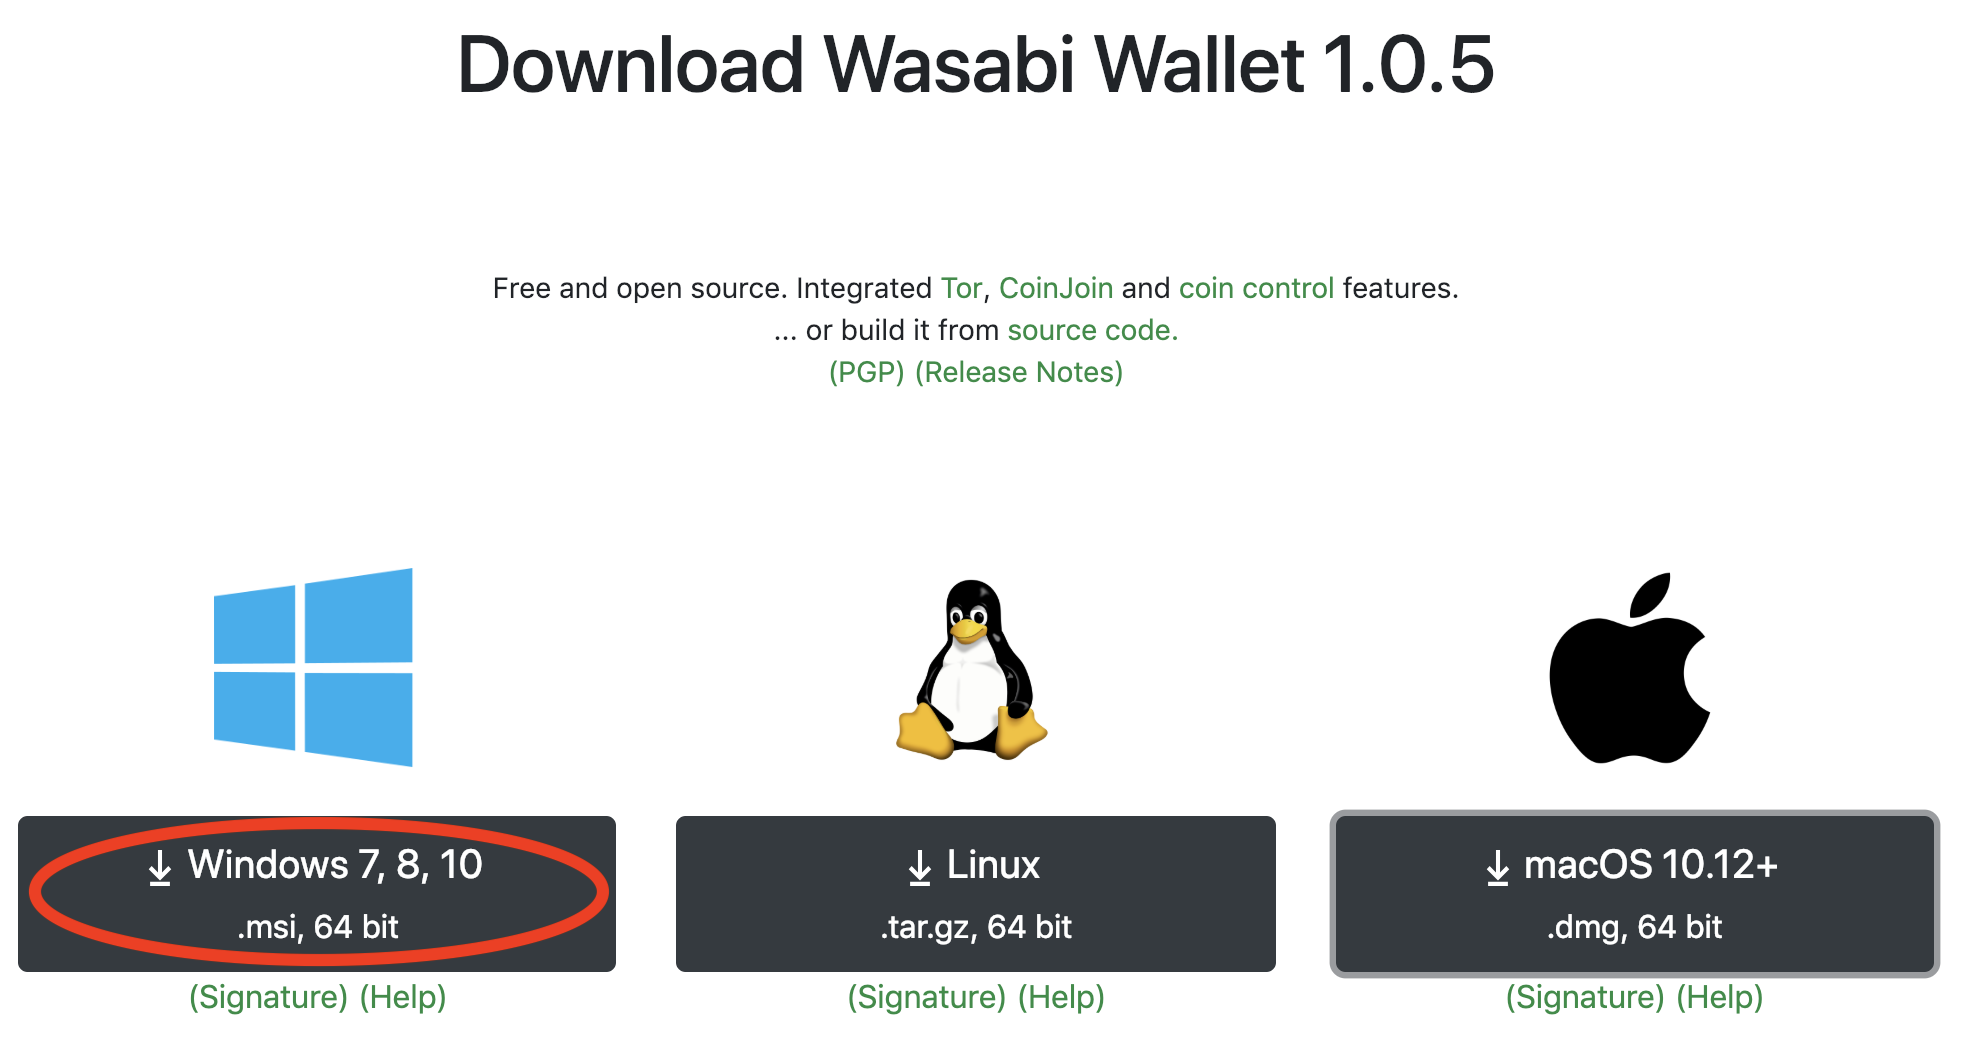
Download the Windows installer (.msi) and follow the instructions. Wasabi will be installed to your C:\Program Files\WasabiWallet\ folder. You will also have an icon in your Start Menu and on your Desktop.
After first run, a working directory will be created: %appdata%\WalletWasabi\. Among others, here is where your wallet files and your logs reside.
Debian/Ubuntu Based Linux
Check out Max's video tutorial or follow the instructions:
After downloading the .deb package install it by running double clicking on it or running sudo dpkg -i Wasabi-1.1.6.deb.
After first run, a working directory will be created: ~/.walletwasabi/. Among others, here is where your wallet files and your logs reside.
Linux
Check out this short, to-the-point video guide, or this other funnier one with more explanation, or take a look at the instructions below. Note that, the first video was created on OSX, but the steps are the same for Linux.
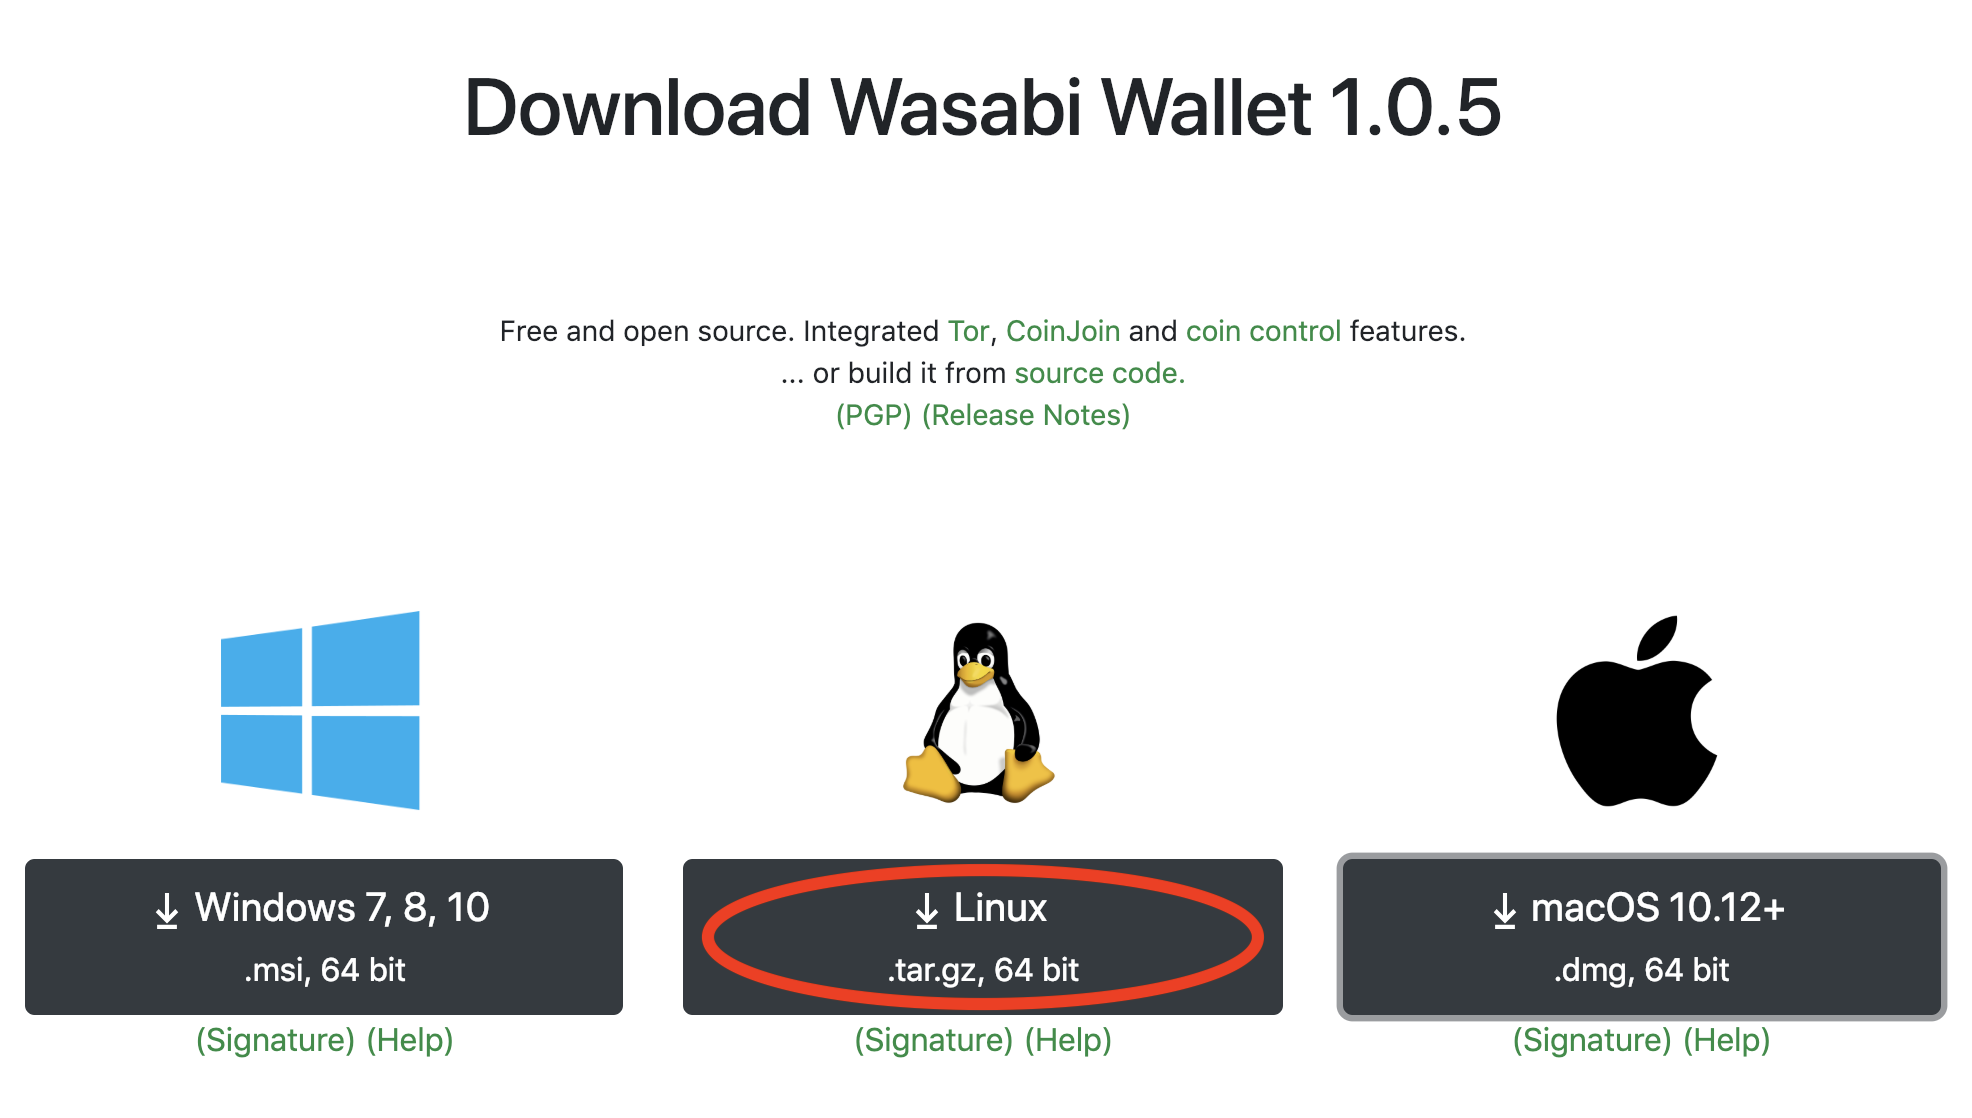
Download the Linux archive and extract it, while keeping the file permissions: tar -pxzf WasabiLinux-1.1.6.tar.gz. You can run Wasabi by executing ./wassabee.
After first run, a working directory will be created: ~/.walletwasabi/. Among others, here is where your wallet files and your logs reside.
OSX
Check out this video guide or take a look at the instructions below:
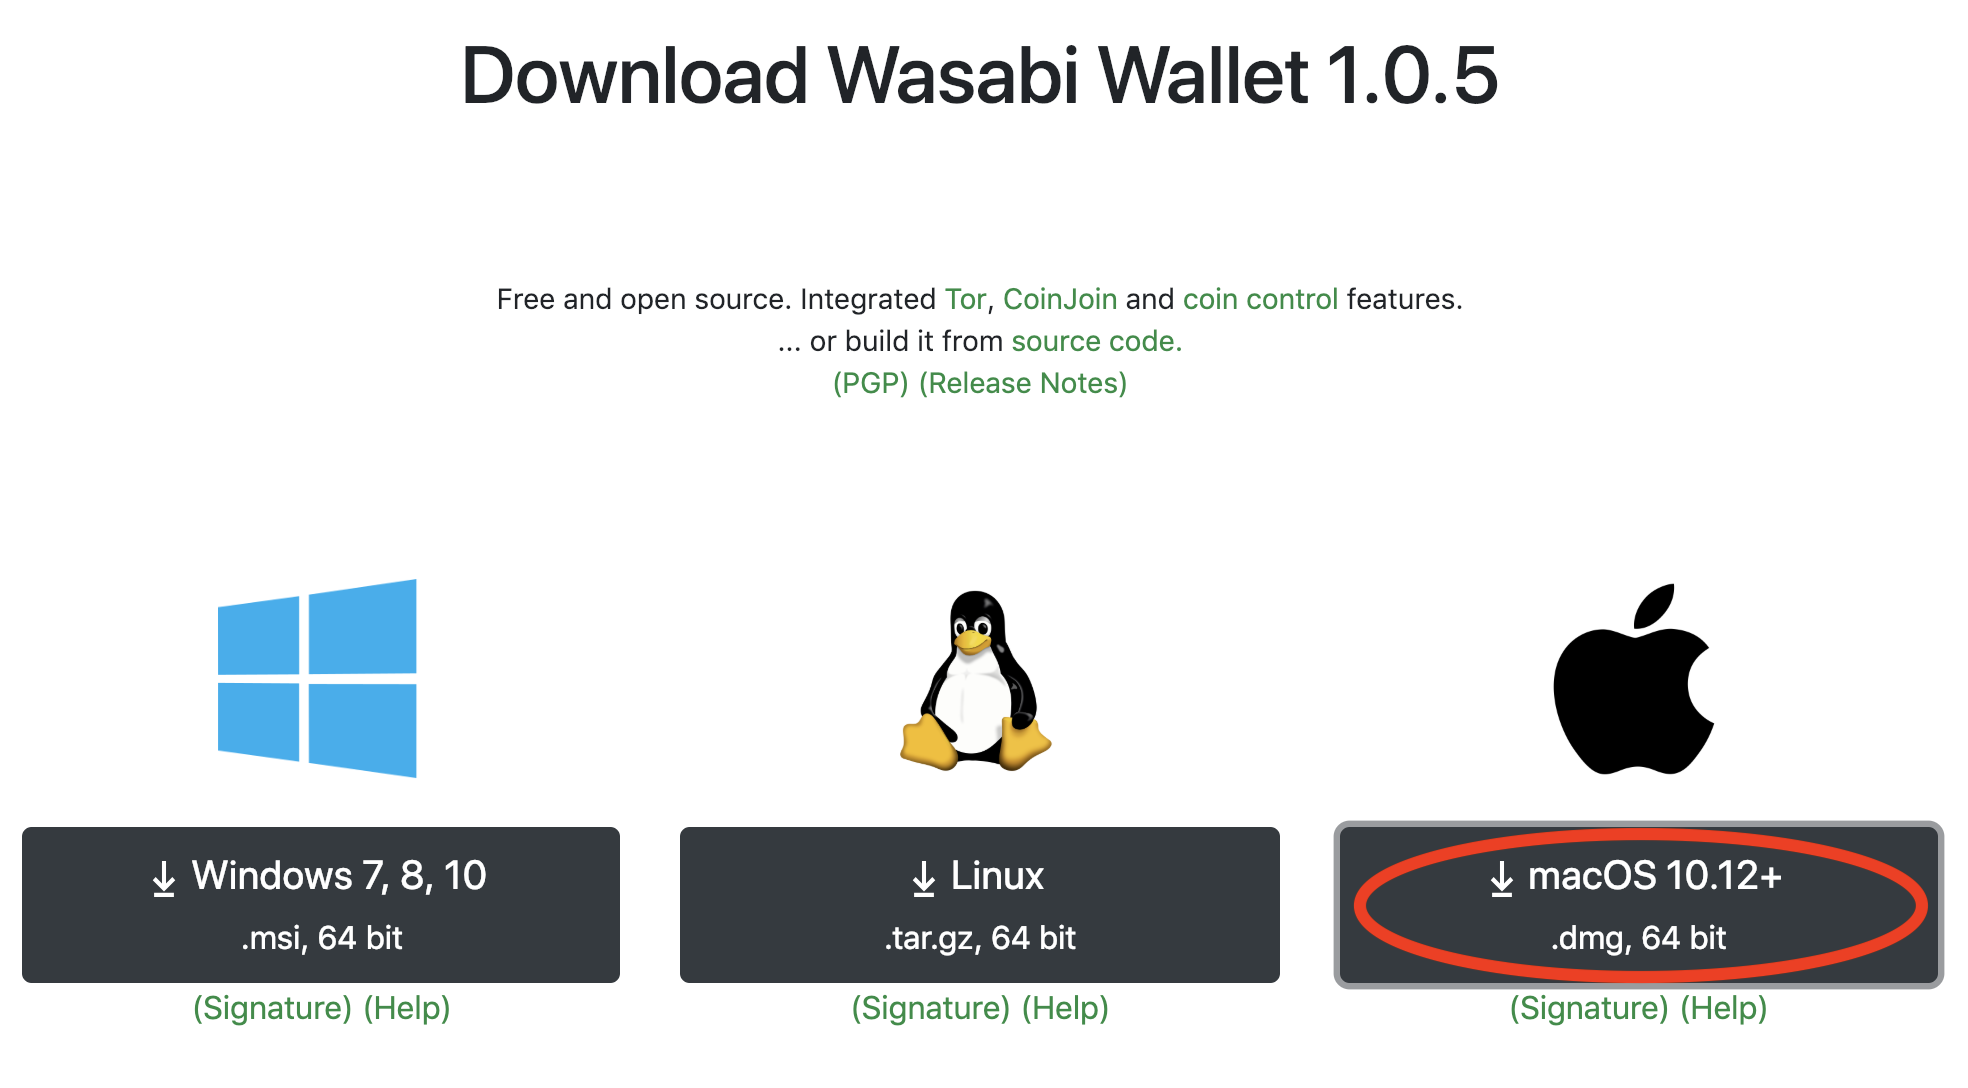
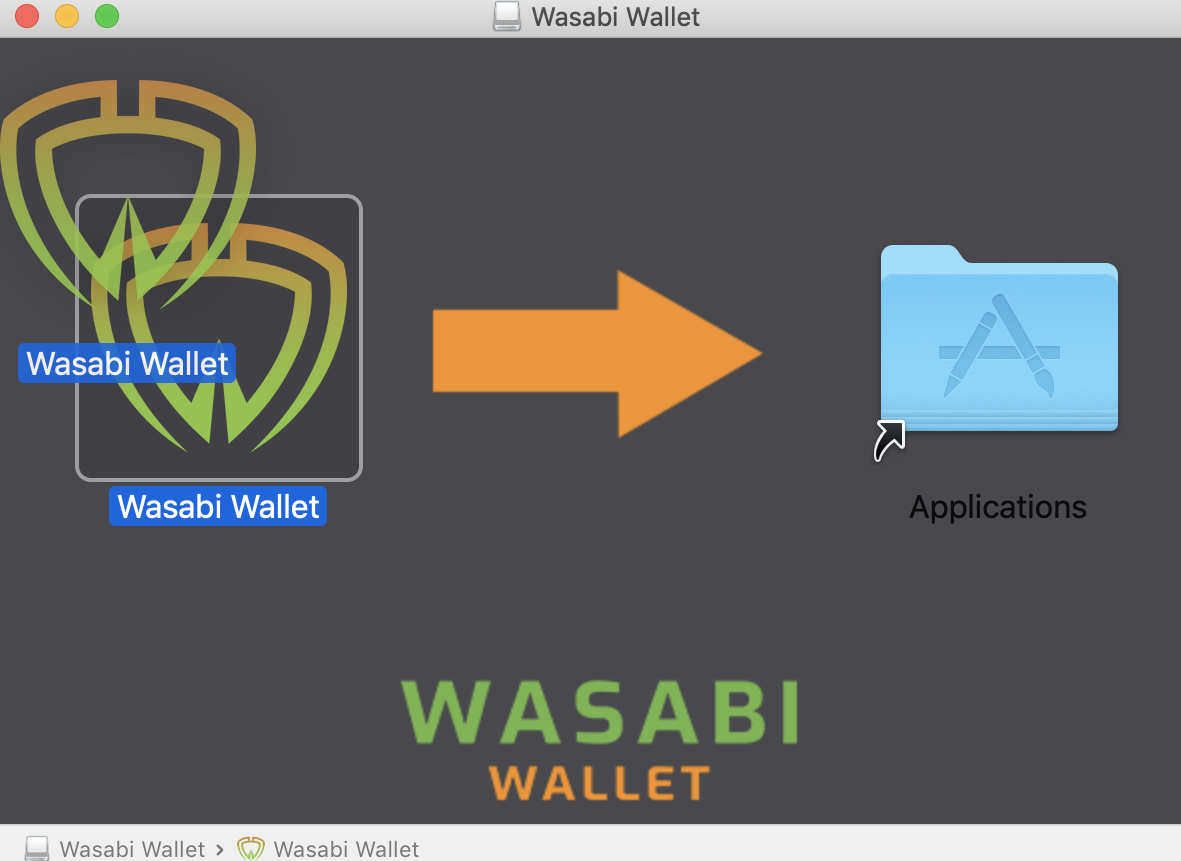
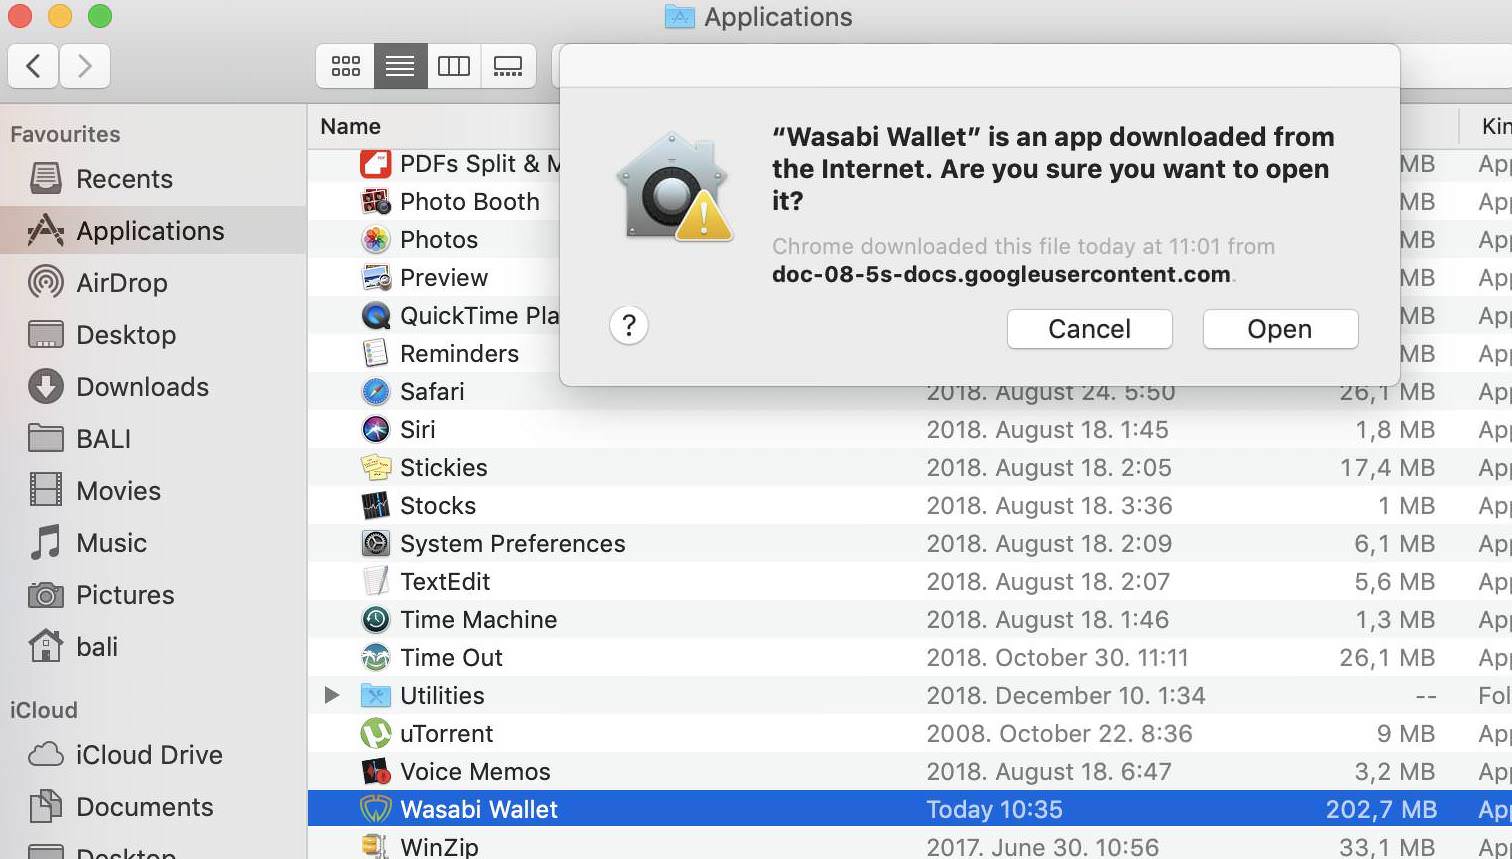
Download and open the .dmg file, then install Wasabi by dragging it into your Applications folder.
After opening Wasabi, you may encounter a security popup. You can bypass it in multiple ways. One way would be to keep the control key down while opening Wasabi.
GPG Verification
Get GnuPG, then save nopara73's PGP.
Import the key you downloaded to GnuPG. Open the terminal/command line:
With this public key, from now on, you will be able to make sure the Wasabi software you download was not tampered by checking against the corresponding .asc file:
Example: gpg --verify WasabiInstaller.msi.asc WasabiInstaller.msi.
If the message returned says Good signature and that it was signed by Ficsór Ádám with a Primary key fingerprint: 21D7 CA45 565D BCCE BE45 115D B4B7 2266 C47E 075E, then the software wasn't tampered with since the developer signed it.
Remember to check again the PGP signature every time you make a new download.
If you trust nopara73's key and you are familiar with the Web Of Trust, please consider also validating it.
GPG Verification with GUI
If you prefer Graphical user interface this guide is yours. There is also a nice video guide here.
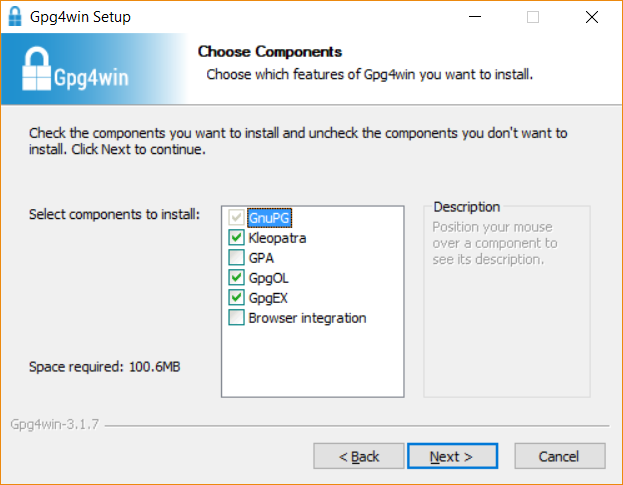
Download Gpg4win from https://www.gnupg.org/download/index.html
Install Gpg4win
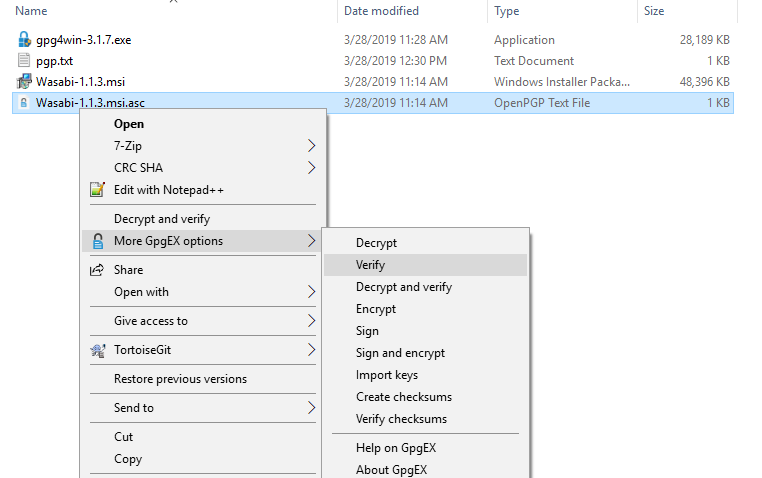
Download Wasabi latest release and the corresponding .asc file.
Double click on .asc file or right click More GpgEX options / Verify (if the context menu is missing restart computer)
Press Search.
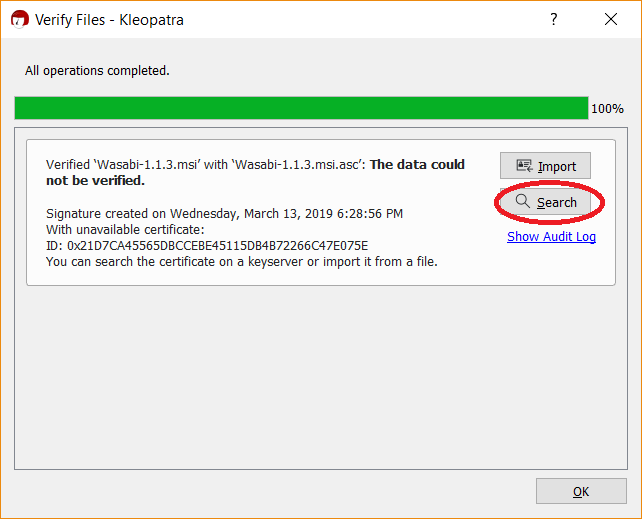
Wait until Ficsór Ádám's, adam.ficsor73@gmail.com appears. Who is this guy? The owner of WasabiWallet AKA nopara73
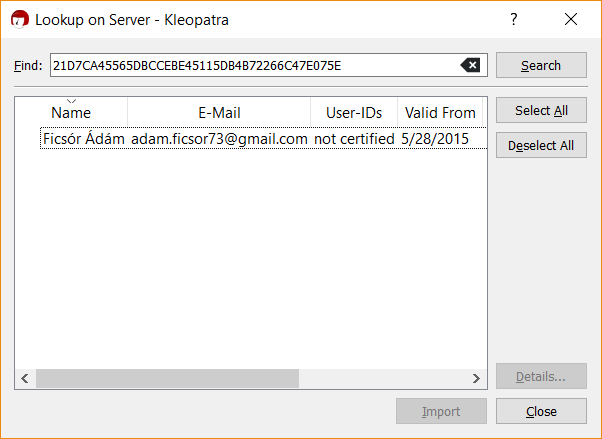
Add Ádám's certificate. (on the next release you can skip previous steps because the cert will be there)
Select all and Verify the fingerprint:
21D7 CA45 565D BCCE BE45 115D B4B7 2266 C47E 075E
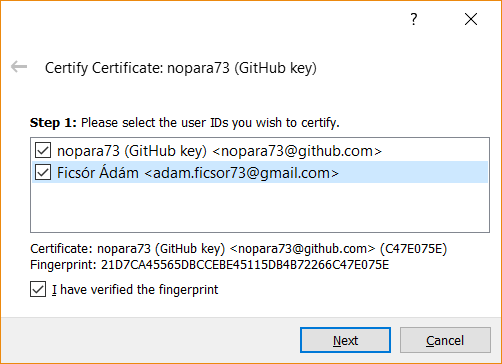
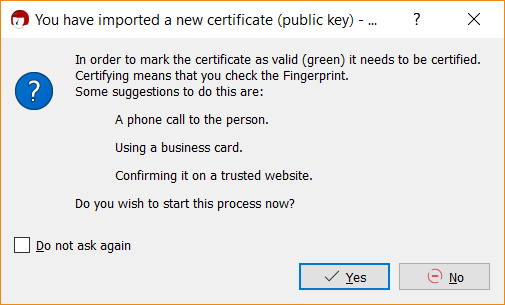
Press next, next, next. If there is an error you can try to import key manually, navigate to section: Import key manually
Successful validation. The file was signed by the developer.

You can install Wasabi with the msi.
Import key manually
Open this site, you will find the developer(nopara73) public key there nopara73's PGP. Press Copy

Create a TXT file pgp.txt
 ,
,
Open it and right click and paste. It looks like this:

Save the file and close.
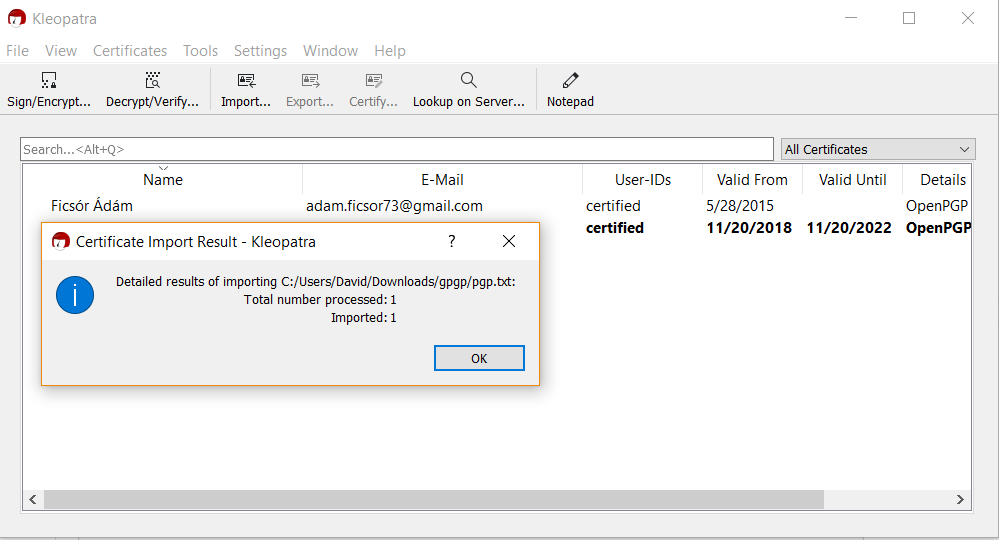
Right click on pgp.txt. In the context menu navigate to More GpgEx options/Import keys (if the context menu is missing restart computer)
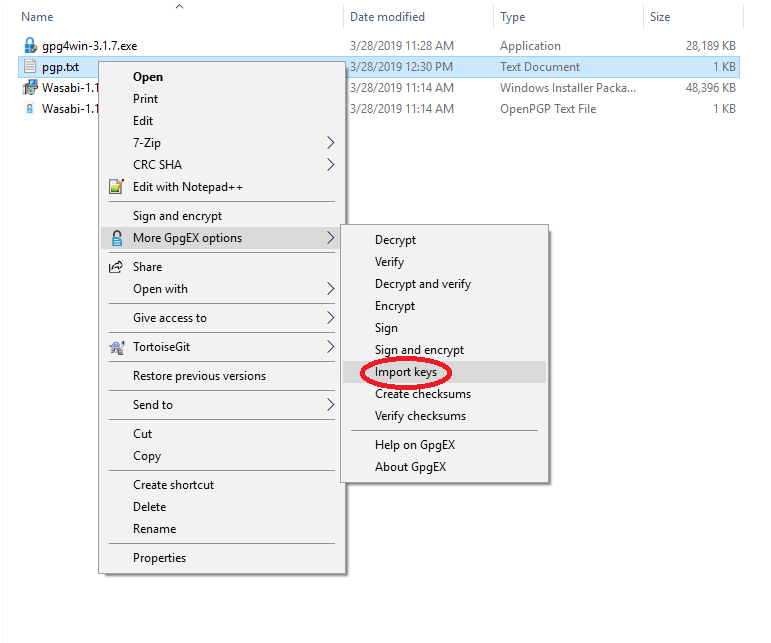
Kleopatra pops up and Ficsór Ádám's key imported. Press OK and Close Kleopatra
Last updated
Was this helpful?